
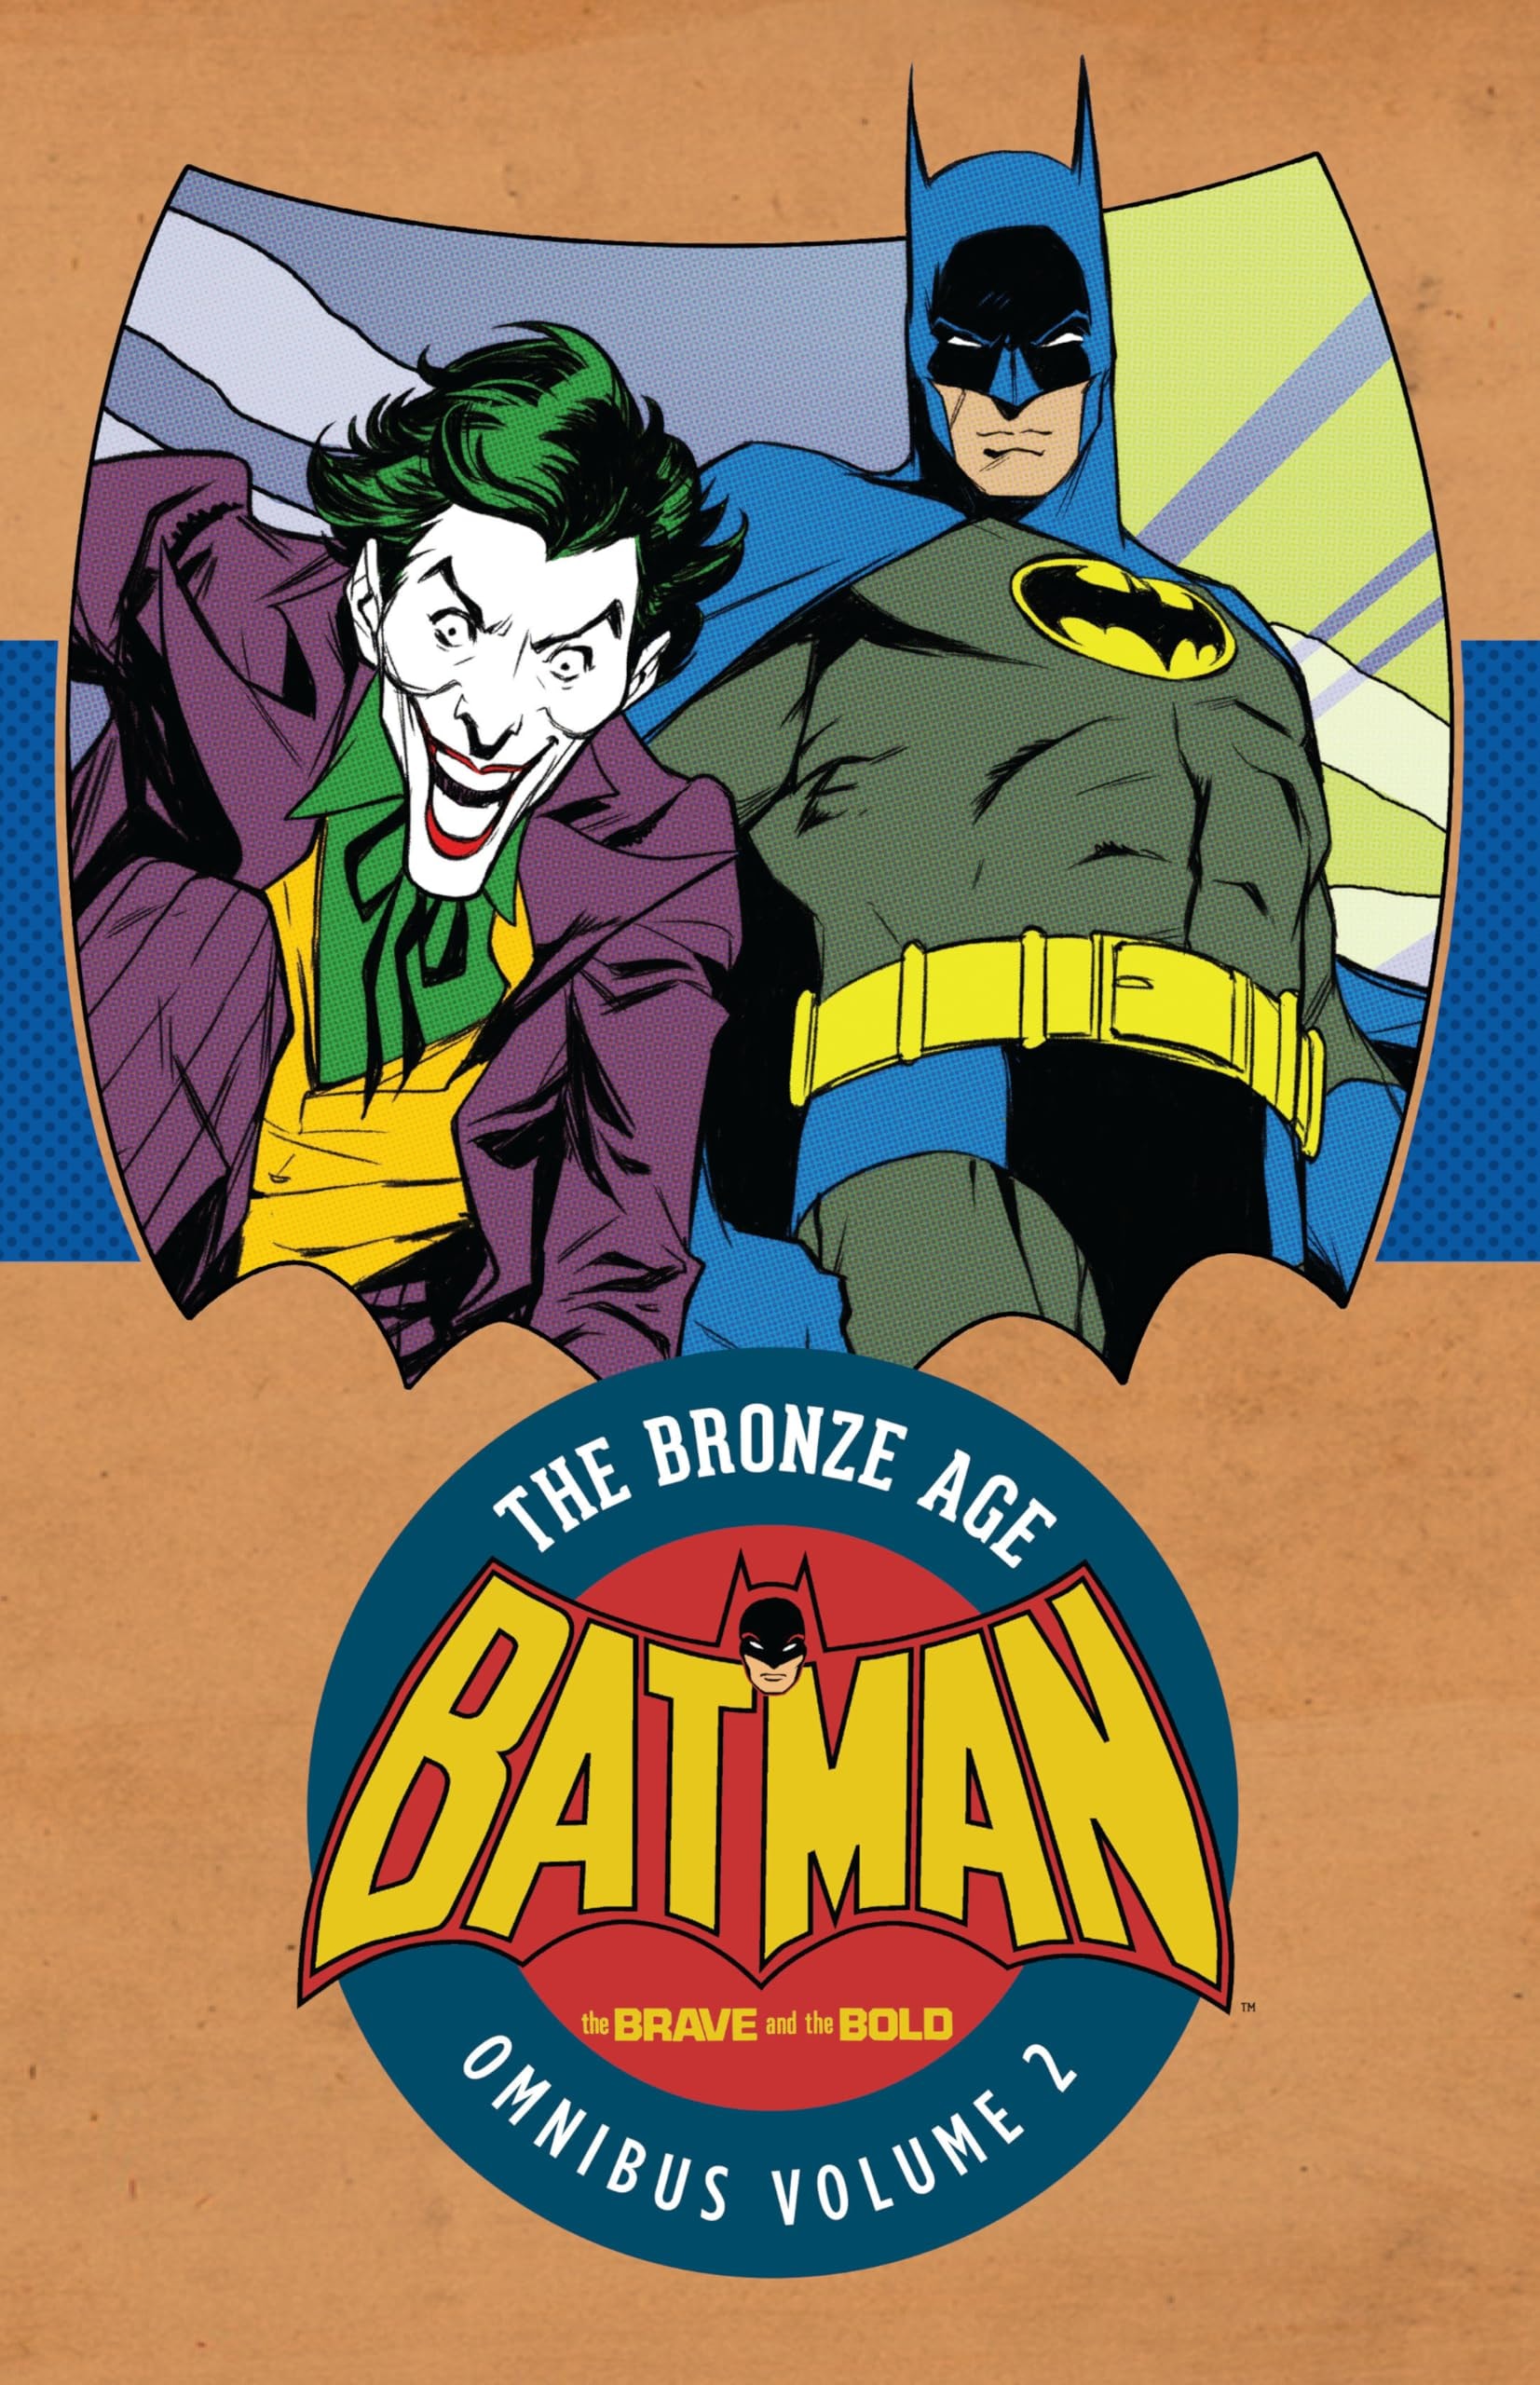
Batman: The Brave and the Bold - The Bronze Age Omnibus #2
☆ Be the first to review + Add to your collection — Join freeThis omnibus collects the second half of the Bronze Age run of The Brave and the Bold, featuring team-ups between Batman and a wide array of DC heroes from the 1970s and early 1980s. The volume includes issues #156–200 of the original series, showcasing the dynamic artwork of Jim Aparo and others, with stories that range from classic Silver Age-style adventures to more character-driven tales. It's a comprehensive look at Batman's role as the Dark Knight Detective in an era of creative experimentation and expanded DC Universe continuity.
In "A Very Special Spy!", Batman teams up with the Spectre to stop a wave of seemingly ordinary citizens committing bizarre murders—only to uncover a chilling truth: they’re possessed by the spirits of a forgotten WWII construction crew, loyal followers of the Far Eastern goddess Kali. Written by Bob Haney and brought to life with dynamic art by Jim Aparo, this story blends wartime mystery with supernatural dread, all wrapped in a striking cover by Karl Kerschl and Jim Aparo.
In "The Corpse That Wouldn't Die!" from Batman: The Brave and the Bold – The Bronze Age Omnibus #2, Batman lies motionless after being electrocuted during a desperate pursuit of the kidnapped Debbie Manton. With the Dark Knight declared brain dead, the Atom must venture into his mind to reawaken the detective’s intellect and complete the case—before it’s too late.
In "Grasp of the Killer Cult," ordinary citizens across Gotham commit grisly murders, only to be revealed as imposters—ghosts of a forgotten WWII construction crew now haunted by the vengeful spirits of a cult devoted to the Far Eastern goddess Kali. As the city teeters on the edge of chaos, Batman must confront a supernatural threat that defies logic, relying on the spectral power of the Spectre to stop Kali’s long-awaited return.
In "Small War of the Super Rifles," Sgt. Rock is dispatched to recover a stolen shipment of advanced M-76 rifles, leading him to team up with Batman in a high-stakes pursuit. The story unfolds with sharp pacing and classic wartime grit, written by Bob Haney and Jim Aparo with art by Murray Boltinoff, delivering a tense, action-driven mystery where the odds are stacked—but the good guys still have a chance to prevail.
In "Batman—Dragon Slayer??" from *Batman: The Brave and the Bold – The Bronze Age Omnibus #2*, Batman teams up with the mysterious Dragon to track down The Stylist, a deadly contract kung-fu assassin, after an old beggar—revealed to be a wealthy man with a surprising connection to Dragon—names him in his will. The hunt leads them through a web of secrets and forgotten debts, testing the limits of trust between two unlikely allies.
In "A Choice of Dooms!" from *Batman: The Brave and the Bold - The Bronze Age Omnibus #2*, Batman takes on a diamond smuggling operation with a twist—its leader uses voodoo to control his gang, binding them with a chilling method that silences them. The Dark Knight must navigate a web of fear and secrets, where the real danger isn’t just the crime, but the dark rituals behind it.
In "Menace of the Murder Machines," Batman dives into a high-rise homicide with no clear exit, uncovering a deadly robotic assassin in the heart of Gotham’s skyline. With Red Tornado by his side, the Dark Knight races to stop a wave of killer machines before they strike again—pitting man against machine in a battle where the enemy remains hidden.
In "Fugitive from Two Worlds!" from *Batman: The Brave and the Bold - The Bronze Age Omnibus #2*, Green Lantern and Batman team up when Tri Vul’s desperate attempt to cure his radiation poisoning with a meteor beneath Gotham City triggers violent earthquakes. With the planet’s fate hanging in the balance, the heroes must bring the desperate alien to justice—and restore the meteor before the city collapses.
In "Corruption!", Batman teams up with Doctor Fate when an unseen force corrupts Gotham’s police, turning them against the city. As the duo investigates, they uncover a haunting mystery tied to a dead officer wronged in life—now seeking vengeance from beyond.
ComicBooks.com Value
Find on ebay
Where to buy
Read it digitally
Sell my copy
Have this issue — or a whole collection? Get a fair offer from us, skip the marketplace fees and the hassle.
We Buy Collections ▸Full credits
Reprints
↩ Reprints The Brave and the Bold #110 (1973), The Brave and the Bold #111 (1974), The Brave and the Bold #112 (1974), The Brave and the Bold #113 (1974), The Brave and the Bold #114 (1974), The Brave and the Bold #115 (1974), The Brave and the Bold #116 (1974), The Brave and the Bold #117 (1975), The Brave and the Bold #118 (1975), The Brave and the Bold #119 (1975), The Brave and the Bold #120 (1975), The Brave and the Bold #121 (1975), The Brave and the Bold #122 (1975), The Brave and the Bold #123 (1975), The Brave and the Bold #124 (1976), The Brave and the Bold #125 (1976), The Brave and the Bold #126 (1976), The Brave and the Bold #127 (1976), The Brave and the Bold #128 (1976), The Brave and the Bold #129 (1976), The Brave and the Bold #130 (1976), The Brave and the Bold #131 (1976), The Brave and the Bold #132 (1977), The Brave and the Bold #133 (1977), The Brave and the Bold #134 (1977), The Brave and the Bold #135 (1977), The Brave and the Bold #136 (1977), The Brave and the Bold #137 (1977), The Brave and the Bold #138 (1977), The Brave and the Bold #139 (1978), The Brave and the Bold #140 (1978), The Brave and the Bold #141 (1978), The Brave and the Bold #142 (1978), The Brave and the Bold #143 (1978), The Brave and the Bold #144 (1978), The Brave and the Bold #145 (1978), The Brave and the Bold #146 (1979), The Brave and the Bold #147 (1979), The Brave and the Bold #148 (1979), The Brave and the Bold #149 (1979), The Brave and the Bold #150 (1979), The Brave and the Bold #151 (1979), The Brave and the Bold #152 (1979), The Brave and the Bold #153 (1979), The Brave and the Bold #154 (1979), The Brave and the Bold #155 (1979), The Brave and the Bold #156 (1979)
Reviews
Reader reviews
No reader reviews yet.