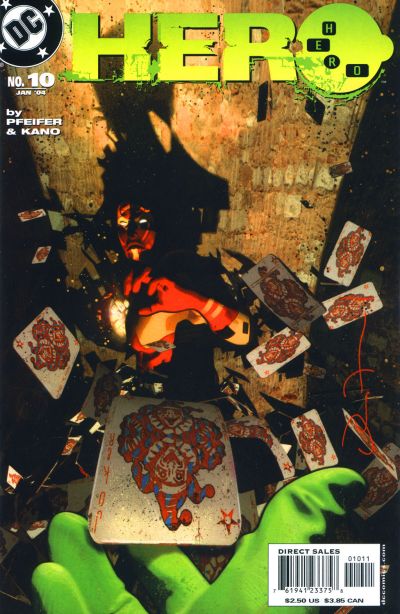
Cover: John Van Fleet
H-E-R-O #10
📊 ~15,787 copies sold its debut month
☆ Be the first to review + Add to your collection — Join free “A World Made of Glass: Part 2”
In "A World Made of Glass: Part 2," Tony Finch's descent into criminal chaos reaches a breaking point when his use of the H-E-R-O dial backfires during a violent confrontation with Steve Owsley. Arrested and confined to Arkham, Finch's fate hangs in the balance as the stolen dial's true power begins to unravel. Written by Will Pfeifer and illustrated by Kano, with colors by J. D. Mettler and letters by Ken Lopez, this gripping chapter unfolds with a tense, grounded intensity. The cover by John Van Fleet captures the moment’s chilling gravity.
writer Will Pfeifer · colorist J. D. Mettler · letterer Ken Lopez · artist, inker Kano · cover John Van Fleet
ComicBooks.com Value
Our Model is In Beta
Raw (NM) $0
Our model’s value — refined as new sales data arrives · CGC census counts shown where available
This exact issue on ebay
Raw — NM- $5 1 listing Raw — VF/NM $6.61 1 listing Raw — VF $3.96 1 listing
Raw / ungraded ▾ $1.55–$3.99 3 listings
Verified matches for H-E-R-O #10 · eBay asking prices, seen 12 days ago
Read it digitally
DC Universe Infinite DC’s subscription reader Amazon Kindle Buy the digital edition
Opens a search on each platform — digital availability varies by title.
Sell my copy
Have this issue — or a whole collection? Get a fair offer from us, skip the marketplace fees and the hassle.
We Buy Collections ▸Fast, fair offers · we handle grading & shipping
Full credits
writer Will Pfeifer
colorist J. D. Mettler
letterer Ken Lopez
artist, inker Kano
cover pencils, inks John Van Fleet
Reviews
Reader reviews
No reader reviews yet.