
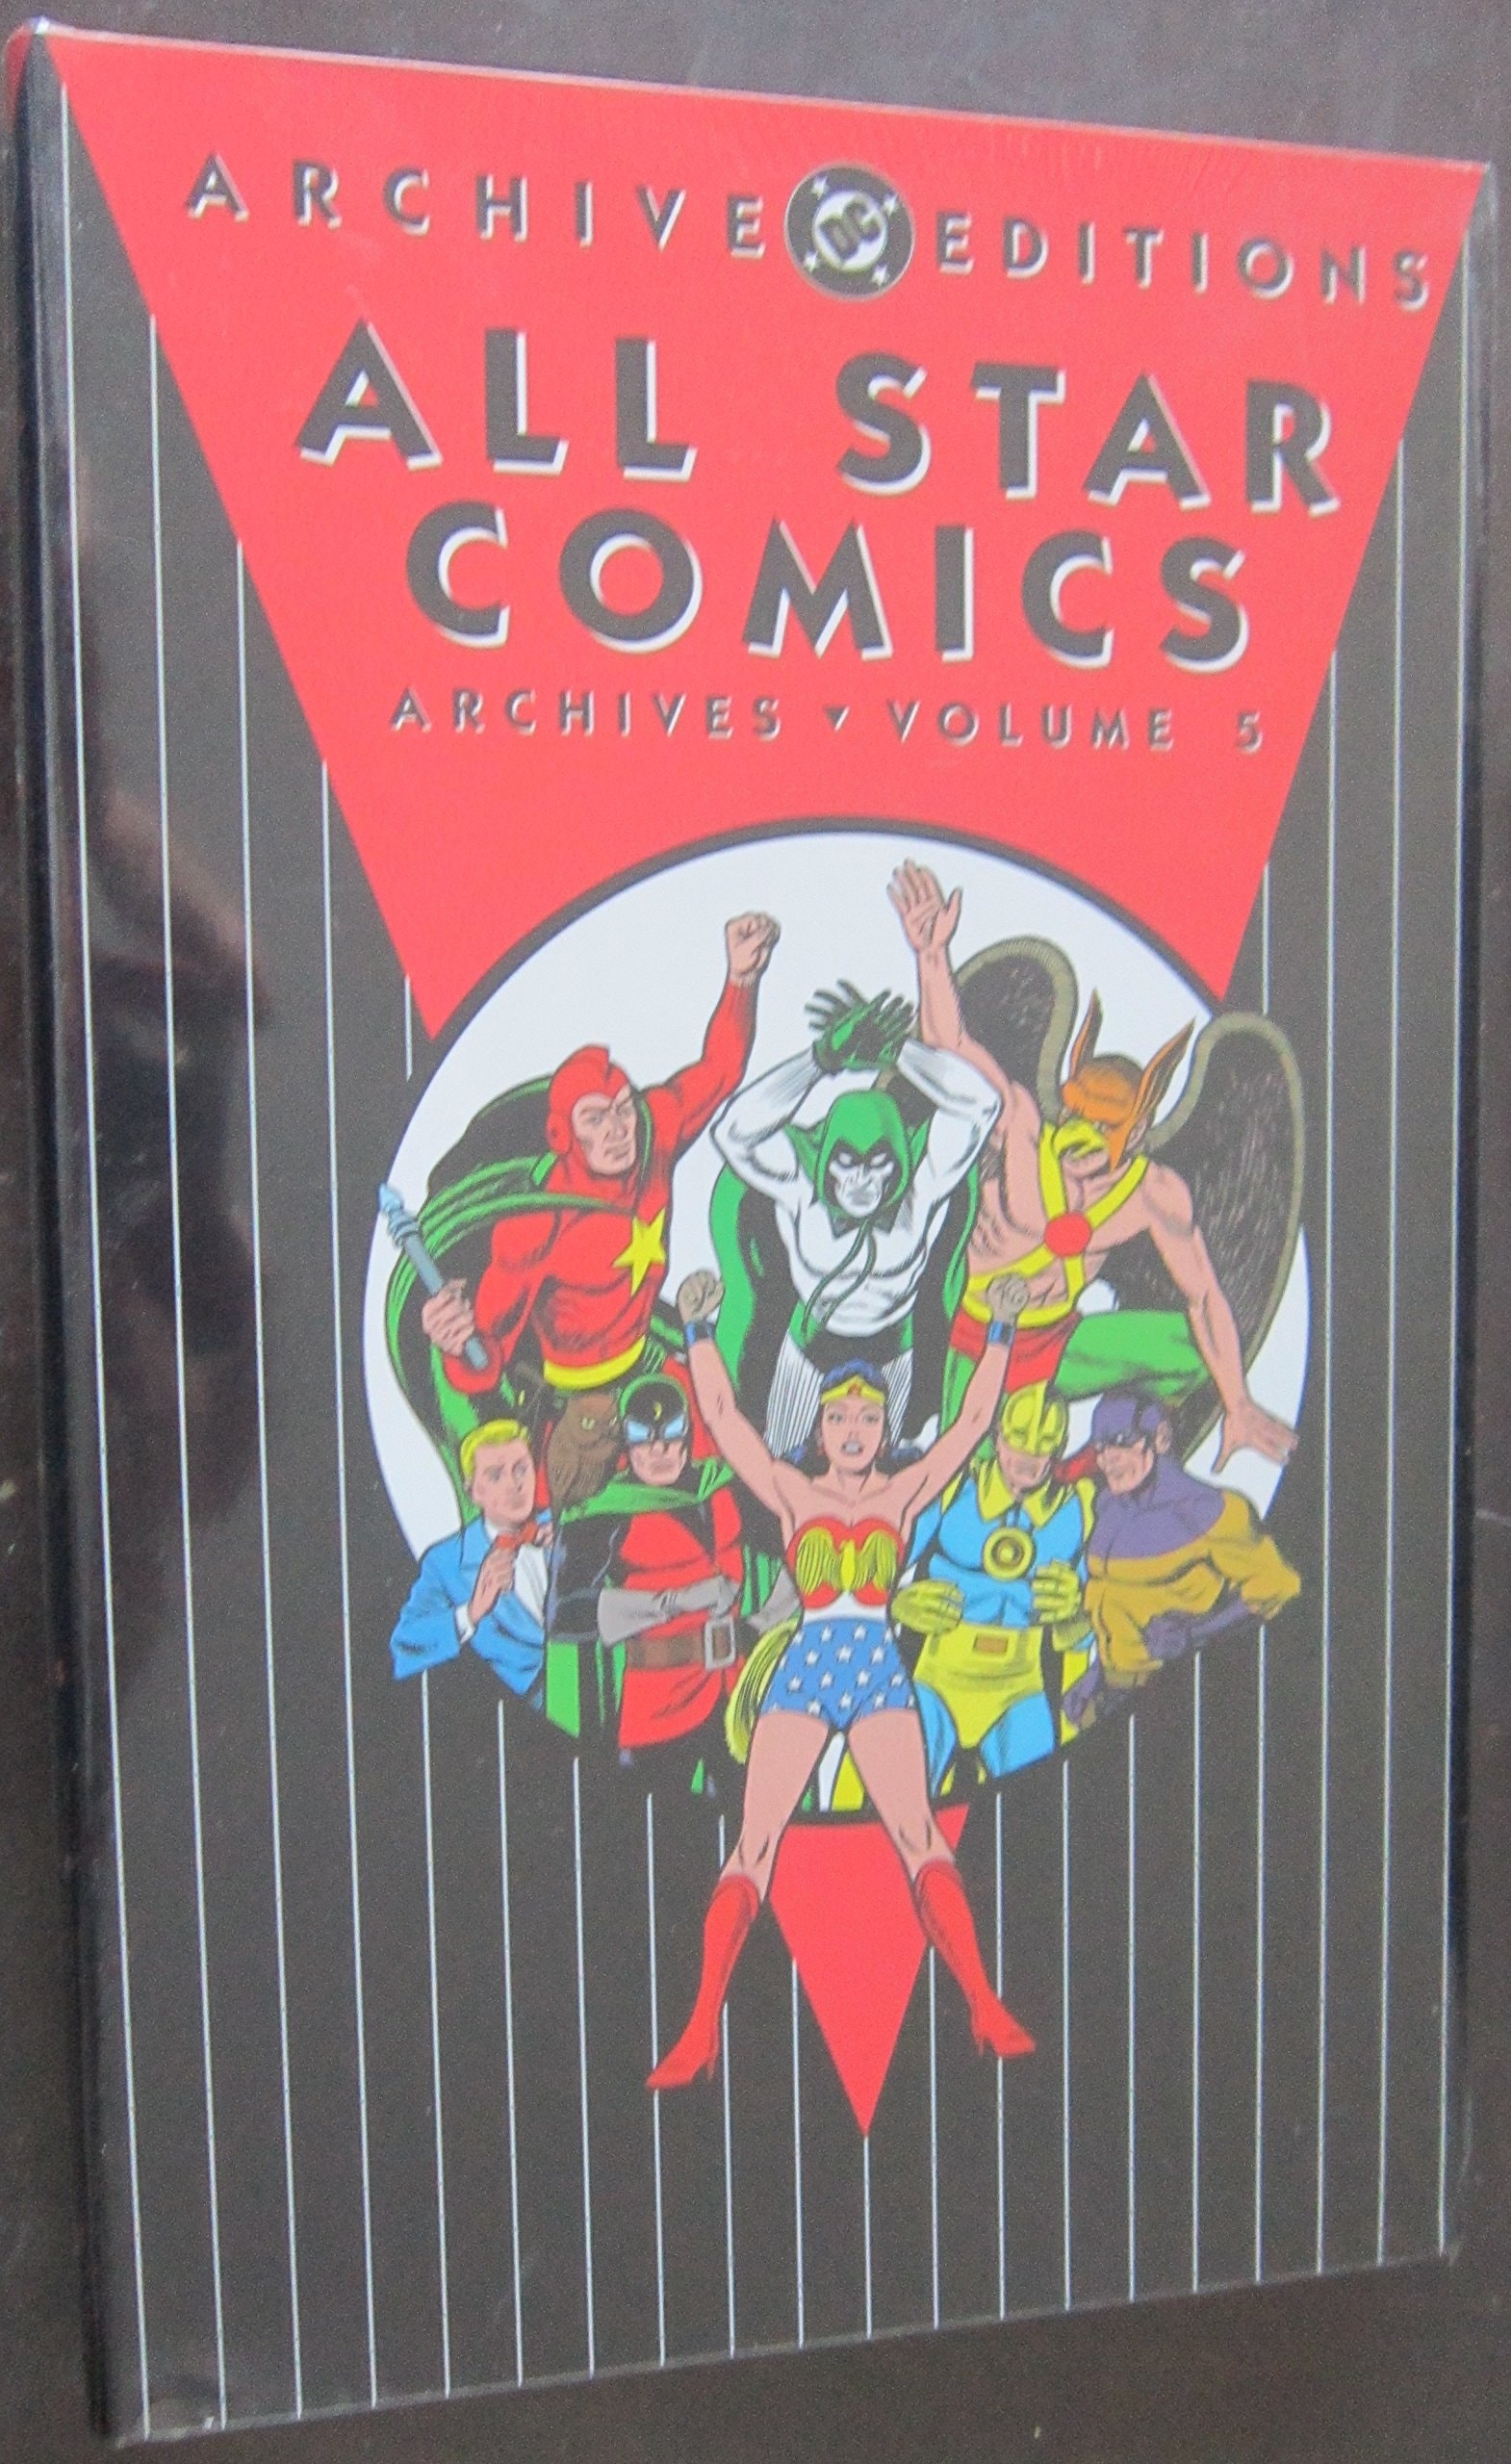
All Star Comics Archives #5
☆ Be the first to review + Add to your collection — Join freeThis fifth volume of the DC Archives series continues the reprint of the Golden Age All Star Comics, collecting issues #12-14 from 1942. It features the Justice Society of America in early team-ups, including the debut of the Freedom Fighters precursor and classic adventures with characters like Hawkman and the Spectre.
In "The Crimes Set to Music!!! [Introduction]," Dr. Fate races to meet Arturo Carasa, only to find them both suddenly silenced by a gas attack. With their voices gone, the two must communicate through writing and music—Carasa’s singing, paired with a record played by Fate, becomes the key to exposing a hidden conspiracy. Written by Gardner Fox and illustrated by Chester Kozlak, this vibrant mystery unfolds with a clever twist on sound and silence, while the cover by Pete Poplaski captures the dramatic tension.
In a quiet, forgotten country house, the Justice League gathers as hawks descend with mysterious fragments of sheet music—each bearing a single note. Wonder Woman, seated at an old piano, plays one note, triggering a hidden compartment to release a hammer and a cryptic clue. With the pieces scattered and the trail leading to a name and address, each hero takes a note, setting off on separate paths to uncover the truth behind Hawkman’s disappearance.
In "The Crimes Set to Music!!! Chapter 1," Starman investigates a mysterious clue tied to a fiddle, arriving just as thugs attempt to destroy it. With the help of Mark Nelson—a young musician whose only way to compose is through a Stradivarius violin once owned by his late teacher—he thwarts the attackers and sets off to West Boulevard, where a deeper mystery awaits.
In "Johnny Thunder Stops a Kidnaping!" from All Star Comics Archives #5, Johnny finds himself on a bus full of crooks who are planning to kidnap Charles Norris—unaware that he’s the very one meant to stop them. As the thugs pretend to help him, Johnny’s quick thinking and a lucky slip of the tongue summon the Thunderbolt, leading to a wild rescue and a new mission to track down Hawkman.
In "The Crimes Set to Music!!! Chapter 3," Dr. Fate races to meet Arturo Carasa, only to find them both silenced by a sudden gas attack. With their voices gone, the two must communicate through writing and music—Carasa’s singing, paired with a record played by Fate, becomes the key to exposing hidden enemies. As the mystery deepens, Fate ensures Carasa’s safety and presses on in his hunt for Hawkman, leaving the next move to the rhythm of the moment.
In "The Crimes Set to Music!!! Chapter 4: The Atom Solves a Fingerprint Mystery," the Atom takes on a case that hinges on a single, overlooked detail: a set of stolen hand molds. When a young woman faces execution based on fingerprint evidence, the Atom investigates the crime scene and traces the anomaly to a sculptor whose molds were stolen—leading him on a clever trail that culminates in a staged news bulletin and a quiet confrontation. The story unfolds with precision, blending forensic curiosity and classic superhero intuition as the Atom works to uncover the truth before it’s too late.
In "The Crimes Set to Music!!! Chapter 5," pianist Theodor Koronski is haunted by a chilling dream of losing his fingers—only to face a real threat when a blade descends from above his piano. With Sandman and Sandy on the scene, the mystery deepens as they uncover a plot tied to the musician’s past, leading to a trap set for assassins who’ve come to finish what the dream began. The duo’s quick thinking and sharp instincts turn the tables, but the real danger may only be beginning.
In "The Crimes Set to Music!!! Chapter 6," Dr. Mid-Nite races to rescue composer Loring Merkeroff after the man is abducted during a tense confrontation. With the composer’s cryptic clue hidden in sheet music, the Man of Night follows the melody through shadowed halls and into a chilling trap—where a surgeon prepares to silence Merkeroff forever. As the stakes rise, Mid-Nite steps into the breach, dismantling the threat and setting off toward West Boulevard to find Hawkman, all while the music of danger plays on.
In ancient Peking, a bell-caster betrayed by royalty is sealed into his own creation, cursing the bell with his final breath. Centuries later, the shattered bell is reassembled into a set of carillon bells, now in the hands of Armand Baulaire, who grows uneasy as whispers of the old curse resurface. When spectral figures appear at his home, Armand finds himself facing the past—only for the Spectre to arrive and reveal the truth behind the haunting.
In "The Crimes Set to Music!!! Conclusion," former musician Hector Bauer, once overlooked by fame, finds his past resurfacing when the JSA tracks him down in his West Boulevard home. As Hawkman recounts the tale, the story unfolds through memories of a forgotten symphony, a shattered dream, and the quiet bitterness that festered for decades.
In "The Crimes Set to Music!!! Chapter 8," Hawkman and Shiera investigate a menacing figure at the Music Academy’s opening, where a soloist’s performance turns deadly. When the man’s hatred ignites a murder attempt, Hawkman is trapped in a marble-like state—only to use his wits and a clever ink-and-leaf message system to summon help before the killer’s next move.
In "The Movie That Changed a Man's Life [Introduction]" from All Star Comics Archives #5, Jason L. Rogers steps into the JSA’s meeting with a chilling tale: a mysterious Monster has been targeting him for years, ever since a fateful picnic captured on film left his wife unconscious. Now armed with a trail of clues and escalating threats, he brings the evidence to the heroes—only for the Monster to appear and mock them, daring to break Rogers’ mind.
In "The Movie That Changed a Man's Life, Chapter 1," Hawkman intervenes to save a man from thugs near a bog, unaware that the man he rescued is a decoy—his twin, Marvin Walsh, secretly working for the Monster. When Hawkman returns to the home of steel baron Harlan Walsh, he finds the Monster has already arrived, threatening the man he's meant to protect. As the tension mounts, Hawkman must unravel the deception before the real danger unfolds.
In "The Movie That Changed a Man's Life, Chapter 2," the Spectre intervenes as the Monster prepares to destroy a building, rescuing Walter Noonan—a friend of Jason Rogers—after learning the criminal had demanded $50,000 to spare a dam built by Noonan’s company. With Noonan agreeing to the ransom to set a trap, the Monster arrives for the payoff, only to find himself outmaneuvered, though he still escapes during the getaway, leaving the Spectre to wonder how.
In "The Movie That Changed a Man's Life, Chapter 3," the Atom finds himself caught in a high-stakes showdown when the Monster's bizarre aircraft snatches a payroll safe mid-escape. Trapped aboard the sky-craft and ensnared by a net, the hero’s courage is tested—only to be saved by a quick-thinking move that turns the tables with a well-aimed brick. The story unfolds with tense, kinetic energy as the Atom fights back against overwhelming odds, all while the Monster’s true motives remain shrouded in mystery.
In "The Movie That Changed a Man's Life, Chapter 4," Dr. Mid-Nite wakes to find himself strapped to an operating table, trapped in a nightmare orchestrated by the Monster, a man who once destroyed his career and now forces him into a twisted game of medical vengeance. As the surgeon reveals the dark chain of blackmail and disfigurement that followed Dr. Mid-Nite’s fall from grace, the line between healer and monster blurs—until a final, desperate act of redemption offers a sliver of hope.
In "The Movie That Changed a Man's Life, Chapter 5," Starman arrives at millionaire Ira Young's estate, aware that the Monster is planning a strike. When a gas attack knocks out guest Jason Rogers and his friends, Starman springs into action—only to be outmaneuvered as the Monster steals from the unconscious crowd and escapes. With a gravity rod to his defense and a trail of stolen money to follow, the Astral Avenger pursues, but the Monster's cunning and traps keep him one step behind.
In "The Movie That Changed a Man's Life, Chapter 6," Jo stumbles into a robbery gone wrong, only to be captured by a villainous Monster who’s set on chopping off his head. With the help of the Thunderbolt, Jo must survive the chaos and outwit the criminal mastermind behind the heist—before the night ends in disaster.
In "The Movie That Changed a Man's Life, Conclusion," the JSA returns to Jason Rogers’ home to confront the mystery behind the film that triggered a terrifying transformation. When the screen remains blank, Rogers restores the footage—only to vanish, unleashing the Monster, who reveals a shocking truth: he’s Rogers’ long-lost twin, a mind without a body that has haunted him for years.
In "The Man Who Relived His Life," the Justice Society of America is summoned to a hospital to help Joe Fitch, a man with a troubled past, before it's too late. With only an hour to spare, they must use Professor Everson's time ray to alter Fitch's history—correcting his misdeeds before the fatal serum takes effect.
In "The Test of Time! [Introduction]" from All Star Comics Archives #5, Dr. Mid-Nite brings a traumatized boy to the JSA after witnessing a hate-fueled attack rooted in religious bigotry. When the team struggles to find a way to help, a mysterious woman appears and offers them a chance to fight injustice across history—if they’re willing to face the trials of the past without the advantage of their present knowledge.
In "The Test of Time! Chapter 1," Hawkman finds himself stranded in the stone age, mistaken for a giant bird by a tribe who see him as both threat and meal. When a bear attacks and he defends the tribe, he earns their trust—only to be drawn into a deeper mystery when a cave painting of a woolly mammoth sparks a deadly hunt. As the artist reveals the truth behind the image, Hawkman must protect the tribe from the real beasts while earning their respect, all before vanishing once more into the mists of time.
In "The Test of Time! Chapter 2," Starman finds himself in ancient Greece in 480 B.C., serving as a Greek soldier in the Strategoi. When he proposes training slaves for battle—despite resistance from skeptical generals—he puts his faith in their potential, leading them into combat where a chance use of the gravity rod turns the tide. As the slaves claim their freedom and the news spreads, Starman vanishes, leaving behind a ripple of change.
In "The Test of Time! Chapter 3," Johnny finds himself stranded in medieval England as a humble shepherd, wrongfully flogged for a moment’s accident. When he dares to speak truth to power, the Baron is amused—and offers him a chance at redemption: win the Knight's Tourney with the Thunderbolt’s help, and the Serfs might finally be treated as men. But just as Johnny’s victory earns him knighthood, he vanishes—leaving behind the Baron’s daughter, who’s been brought forward as his bride-to-be.
In "The Test of Time! Chapter 4," Atom finds himself in Colonial America, where he stumbles upon Mother Rathlow, a woman accused of witchcraft after using her knowledge of herbs to heal. When a mob threatens her, he steps in—disguised as the Atom—only to be mistaken for a wizard himself. As the crowd flees, Mother Rathlow expresses her gratitude, unaware that her savior is beginning to vanish before her eyes.
In "The Test of Time! Chapter 5," Dr. Mid-Nite—disguised as the 18th-century physician M'sieu De Nider—navigates the volatile streets of revolutionary Paris, where loyalty to the crown is a death sentence and the people’s fury threatens to consume anyone with noble ties. When he’s called to treat a wounded aristocrat, he must balance his duty as a healer against the rising tide of mob justice, all while hiding his true identity and the moral weight of his choices.
In "The Test of Time! Conclusion," the Justice Society of America returns to their headquarters after completing their trials, only to be met with a profound revelation: Conscience of Man, the mysterious guide who tested them, reveals her true nature and calls for a new kind of heroism—through education. With a quiet determination, the JSA answers the challenge, bringing their mission to a school where understanding begins to take root.
In "The Plunder of the Psycho-Pirate [Introduction]," the JSA is drawn into a psychological game when the mysterious Psycho-Pirate targets them through a series of emotionally charged crimes, challenging them via a cryptic letter and individual telegrams. As Editor Morgan stands firm in his support, the team finds unexpected encouragement from a quiet linotypist named Charley Halstead—proof that even in the shadows, courage can spark.
In "The Plunder of the Psycho-Pirate, Chapter 1," Psycho-Pirate manipulates emotions with chilling precision, targeting Heywood Carlson by exploiting his love for his daughter Betty. When Hawkman arrives to rescue Carlson after a false ransom call, he finds himself trapped in a collapsing room with Shiera, forced to confront both physical danger and psychological manipulation. As the web of deception unravels, Hawkman must piece together the truth before the next trap is sprung.
In "The Plunder of the Psycho-Pirate, Chapter 2," Augustus Hemsley and Hank Cannon channel their mutual animosity into a bizarre pact: enrolling in the Hate Clinic to master championship fencing, only to turn their training into a personal duel. Starman arrives, spinning a web of manipulation that promises the clinic will profit handsomely—until the Astral Avenger’s own emotions spiral out of control, turning his rage against the very institution he sought to outwit.
In "The Plunder of the Psycho-Pirate, Chapter 3," Dr. Mid-Nite races to Carse City after a wave of fear sweeps through its residents, who claim the whole town has vanished. Investigating a ransom note, he confronts the Psycho-Pirate’s men at a hidden address, overcoming a sudden surge of terror to outwit them and uncover the truth: the deadly germ threat was a ruse.
In "The Plunder of the Psycho-Pirate, Chapter 4," Johnny’s ego takes a hit when a pair of master safecrackers outsmart even his confidence, leaving him and the authorities locked inside a vault. With a dash of humor and a touch of heroics, the Martin brothers’ security is put to the test—until Thunderbolt arrives to turn the tide.
In "The Plunder of the Psycho-Pirate, Chapter 5," two wealthy collectors—Mason and Smith—find their rivalry over rare Grinning Guardians tested when a mysterious figure offers each man the chance to own both statues. When the Spectre intervenes to warn Mason of the visitor’s true intentions, a trap is set, but the scheme unfolds with dangerous twists that put the Spectre himself in peril.
In "The Plunder of the Psycho-Pirate, Chapter 6," Atom is left behind to protect Mr. Morgan as a wave of personal and professional crises crashes down—foreclosure, strikes, resignations, and scandal—while the radio broadcasts the JSA’s capture. With Halstead’s cryptic lead, Atom races to Psycho-Pirate’s lair, only to discover the so-called heroes are impostors, forcing him into a desperate fight that leaves him wounded.
In the climactic pages of "The Plunder of the Psycho-Pirate, Conclusion," the Justice Society of America regroups at the Courier’s offices, where Morgan reveals a shocking radio broadcast and the Atom’s sudden departure to confront the threat. As the team scrambles to respond, the Atom’s voice echoes through the vents—his identity exposed—just as a desperate fall from the roof threatens to end his mission, only for Johnny to act with split-second precision and bring him to safety, setting off a chain of events that turns the tide in a way no one expected.
ComicBooks.com Value
Find on ebay
Where to buy
Read it digitally
Sell my copy
Have this issue — or a whole collection? Get a fair offer from us, skip the marketplace fees and the hassle.
We Buy Collections ▸Full credits
Reprints
↩ Reprints All-Star Comics #19 (1943), All-Star Comics #20 (1944), All-Star Comics #21 (1944), All-Star Comics #22 (1944), All-Star Comics #23 (1944)
Reviews
Reader reviews
No reader reviews yet.