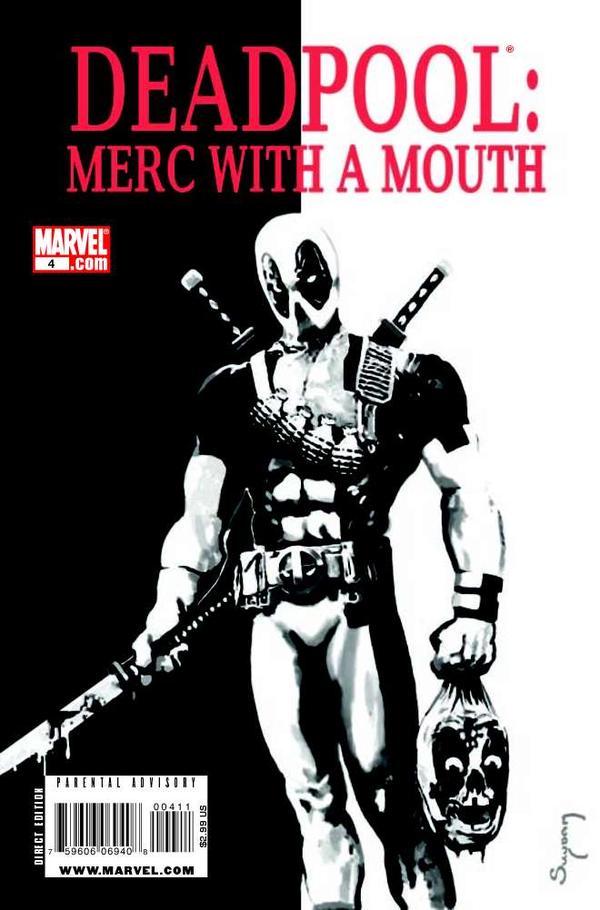
Deadpool: Merc with a Mouth #4
In "Head Trip Part Four," Deadpool finds himself in a bizarre twist of fate when he battles a zombified T-rex, only to be rescued—of all things—by an AIM orbital platform that doesn't quite have his best interests at heart. With help from an unexpected ally and a stolen Hydra ship, he and Betty race toward the satellite to deliver the head, but the trail of chaos they leave behind is sure to attract more trouble than they bargained for. Written by Victor Gischler and illustrated by Bong Dazo, with colors by Matt Milla and inks by Jose Pimentel, the cover by Arthur Suydam captures the absurd, high-stakes madness of the issue.
ComicBooks.com Value
Show all 10 grades ▾
This exact issue on ebay
Raw — NM+ ▾ $12–$12.68 2 listings
Raw / ungraded ▾ $7.64–$275 14 listings
Read it digitally
Sell my copy
Have this issue — or a whole collection? Get a fair offer from us, skip the marketplace fees and the hassle.
We Buy Collections ▸Cast · 3 characters
Full credits
Reprints
Reprinted in Deadpool: Merc with a Mouth #[nn] (2010), Deadpool - Der Söldner mit der grossen Klappe #1 (2010), Deadpool: Merc with a Mouth - Head Trip #[nn] (2010), Deadpool: Merc with a Mouth #[nn] (2011), Deadpool: Merc with a Mouth - Head Trip #[nn] (2011), Marvel Monster Edition : Deadpool #6 (2014), Deadpool Classic #11 (2015), Deadpool and Co. Omnibus #[nn] (2018), The All Killer No Filler Deadpool Collection #32 (2018), Marvel Zomnibus Returns #[nn] (2023)
Key issues in Deadpool: Merc with a Mouth
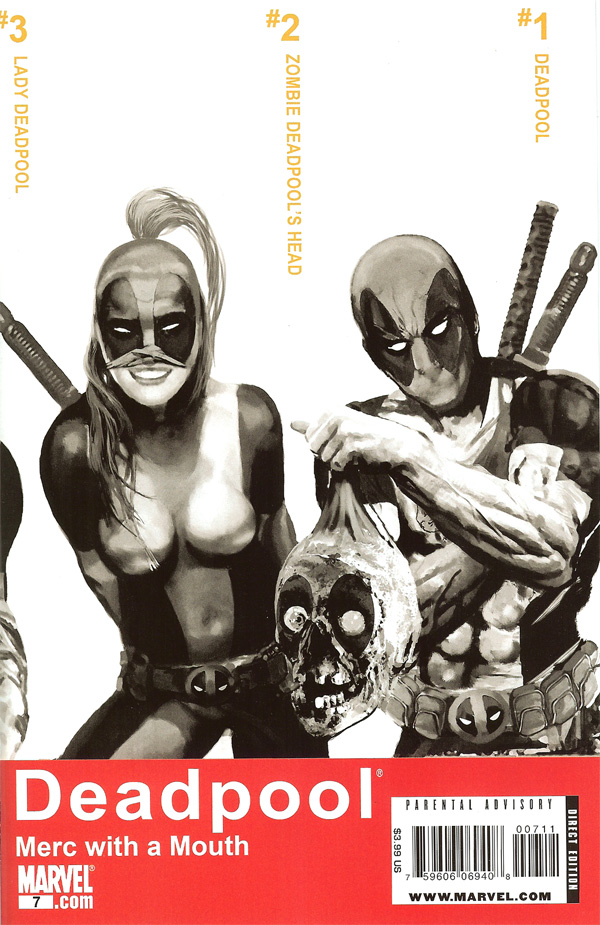
Variants (1)
Reviews
Reader reviews
No reader reviews yet.