
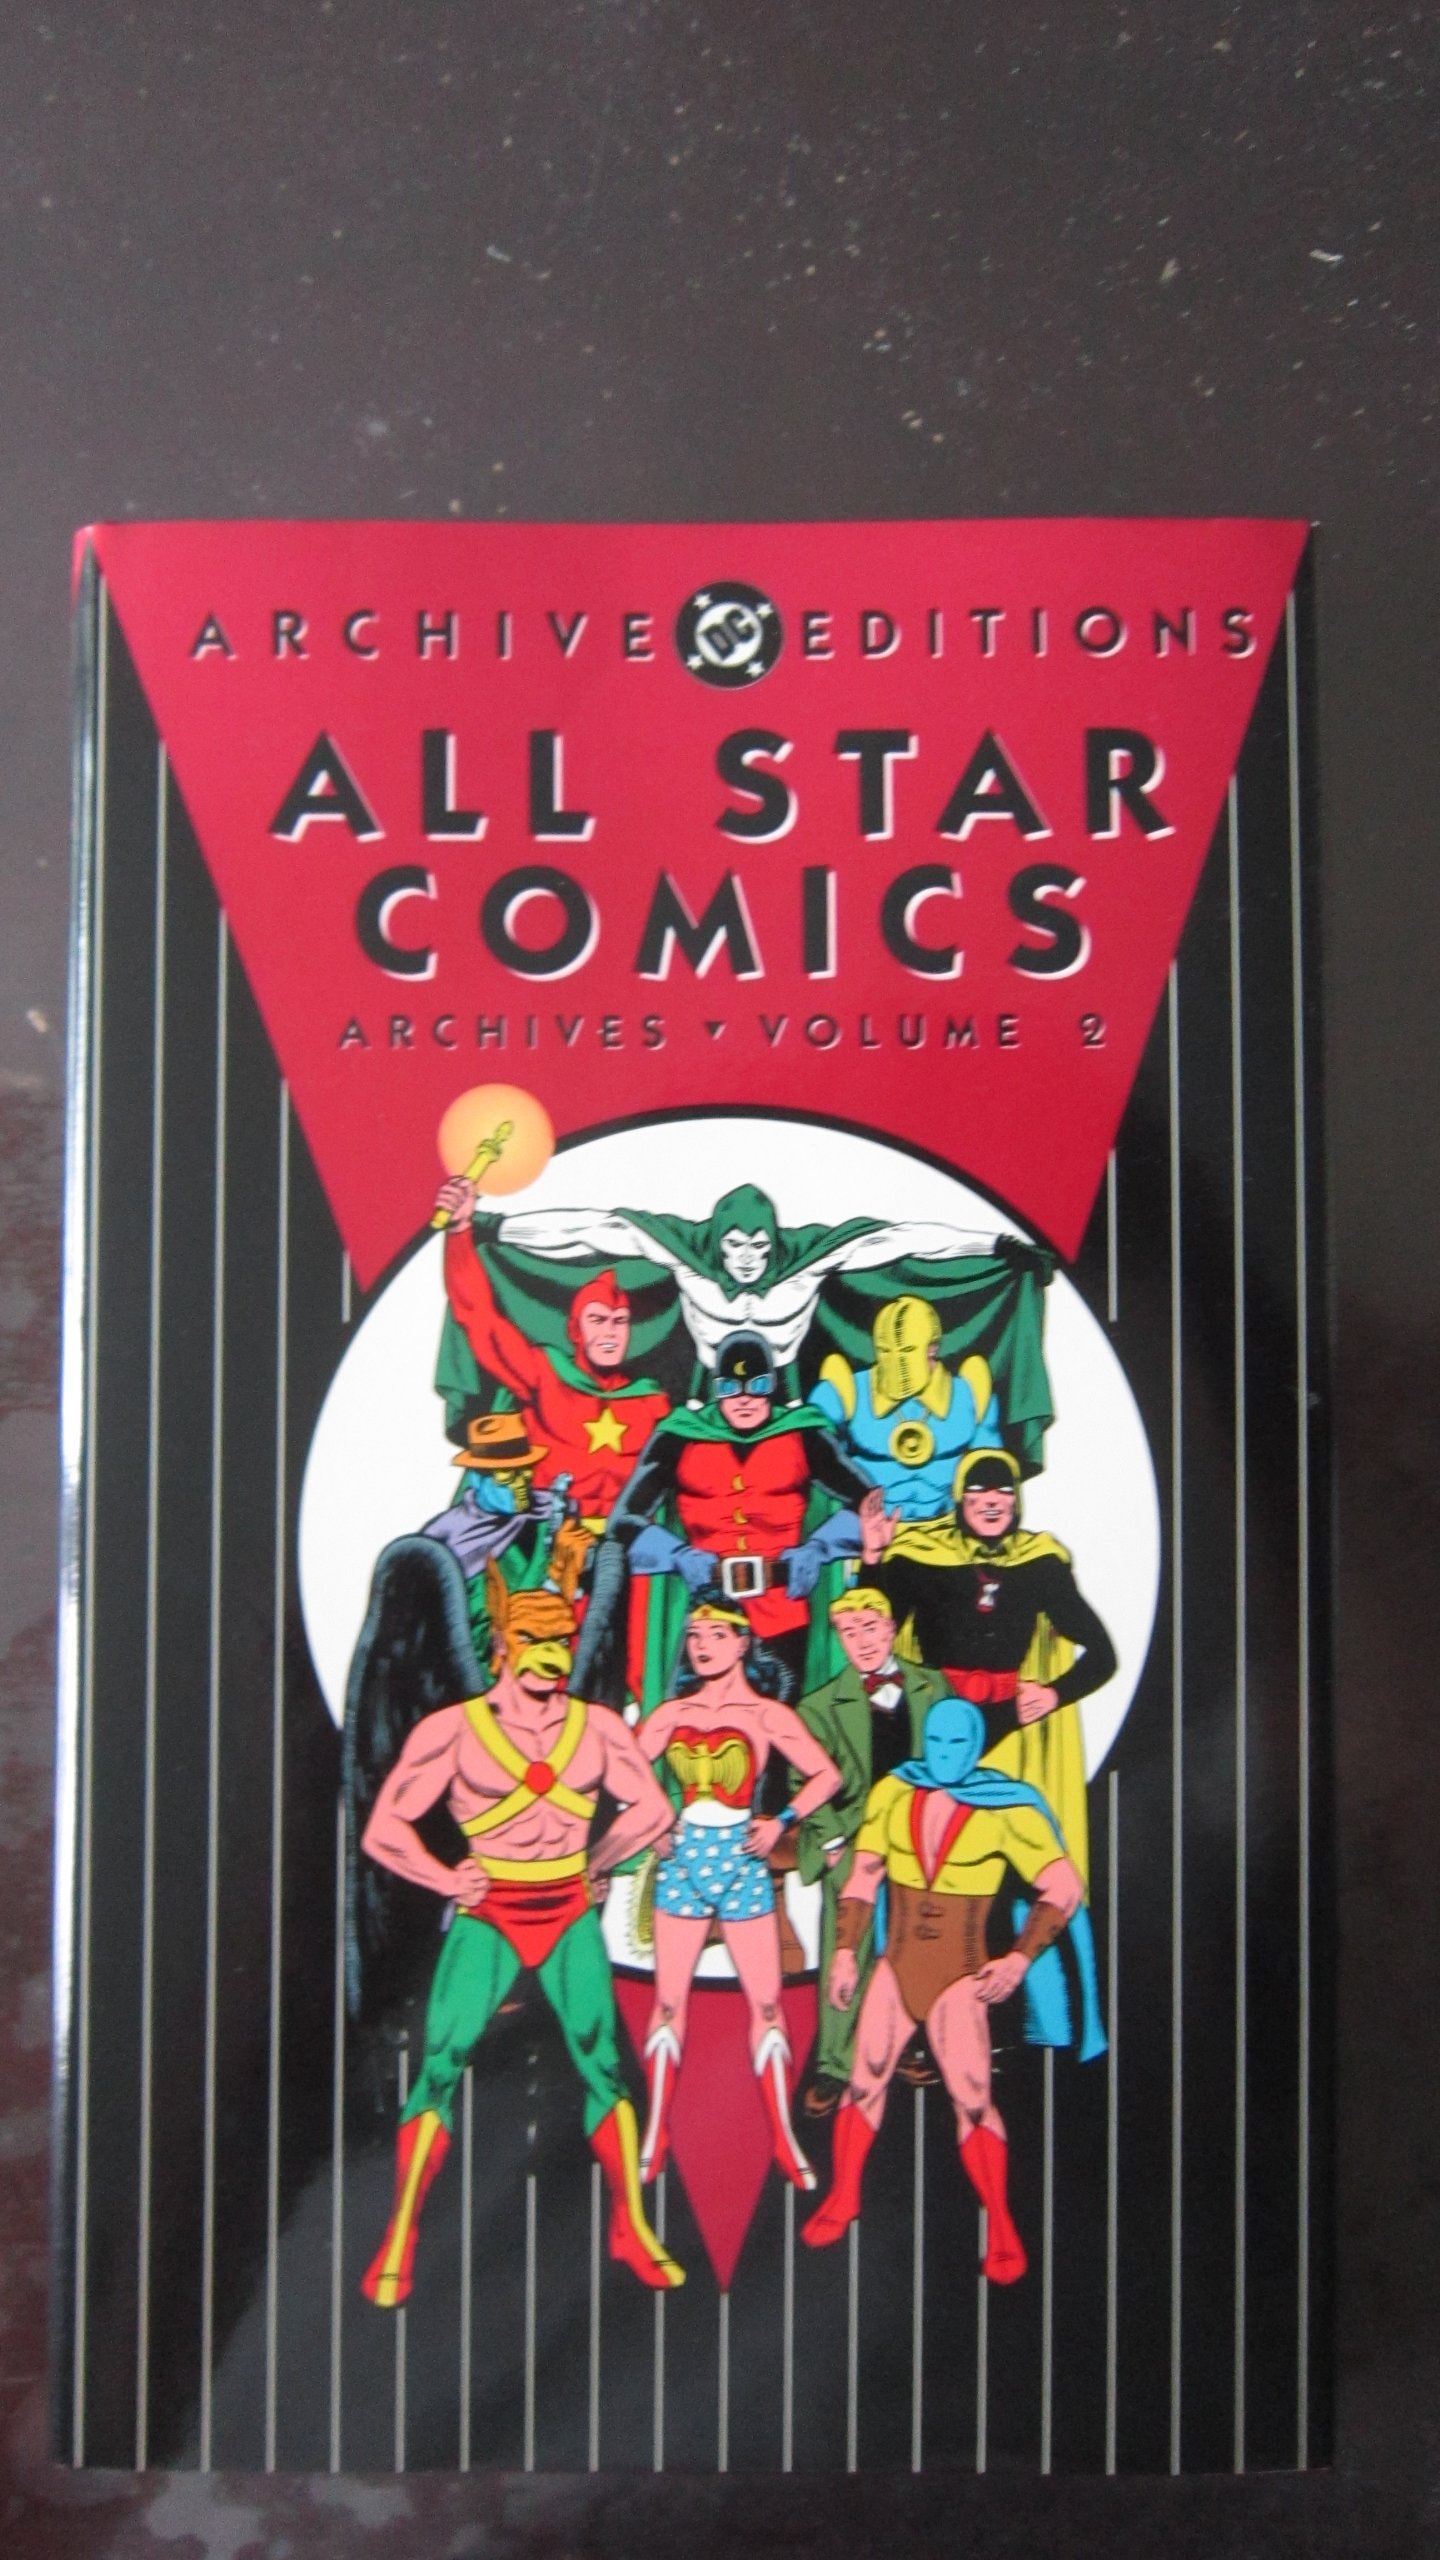
All Star Comics Archives #2
☆ Be the first to review + Add to your collection — Join freeThis second volume of the All Star Comics Archives collects All Star Comics #7-10, originally published in 1941-1942. It features the first appearances of the Justice Society of America as a team, including classic Golden Age adventures with characters like the Flash, Green Lantern, and Hawkman. The volume also includes the debut of Wonder Woman in a preview story from All Star Comics #8, making it a cornerstone of DC's superhero history.
In this standout issue from the All Star Comics Archives series, Dr. Mid-Nite takes on a chilling mystery rooted in a rare blood disease linked to apes, all sparked by a radio report about an escaped former official with a fear of light. Written by Gardner Fox and illustrated by Stan Asch, the story unfolds with tense suspense as Mid-Nite races to uncover the truth, aided unexpectedly by his loyal companion Hooty—whose intervention saves him from a deadly ambush by Dr. Elba’s henchmen. The cover, by Pete Poplaski, captures the shadowy intensity of the tale.
In a brief but powerful moment from All Star Comics Archives #2, newly returned Green Lantern, now the Chairman of the JSA, returns from war-ravaged Asia and Europe with a dire warning: the world’s orphans need help, and fast. With the team divided on how to respond, Hawkman suggests each member contribute $100,000—only for Johnny to step forward and pledge three times that amount alone.
Green Lantern enlists Doiby, a streetwise cabbie, to help raise a million dollars for war orphans—only to find himself tangled in a kidnapping when a mysterious man named Doon is snatched from the back of Doiby’s cab. With the man’s promise of a $100,000 donation hanging in the balance, Green Lantern races to rescue him, only to discover the man has lost his mind. After the asylum takes him in and the police handle the thugs, a calm, rational brother steps forward with a check—just in time to ease the Emerald Crusader’s burden.
In "$1,000,000 for War Orphans! Chapter 2," the Spectre takes on a whirlwind of challenges—from boxing matches to fortune-telling gigs—racing across crises to raise a million dollars for orphans, all while keeping the momentum of justice in motion.
In "§1,000,000 for War Orphans! Chapter 3," The Atom takes on the guise of the Masked Demon at the behest of Calvin College’s Dean and trustees, risking everything to expose a secret network betting on college sports. With a $50,000 guarantee on the line, he infiltrates the scheme, wins his rigged match, and brings the gamblers to justice—earning a reward that doubles the funds raised for war orphans.
In a twist of fate and fortune, Dr. Fate turns to Inza for help raising funds for war orphans, leading to an unexpected contest that pays $25,000 for the most convincing crime proposal. When Inza’s entry wins, her bold idea lands her in danger—her success makes her a target for the very criminals behind the contest. With his mystic powers and quick thinking, Fate races to rescue her before the stakes become irreversible.
In "$1,000,000 for War Orphans! Chapter 5," the Flying Fury steps in to protect a defiant newspaper editor under siege from thugs targeting his paper’s exposés. With delivery trucks destroyed and newsboys threatened, the owner and the Hawkman strike a deal: $100,000 to the JSA, in exchange for the owner’s help tracking down the criminals behind the attacks.
In "§1,000,000 for War Orphans! Chapter 6," Wesley Dodds teams up with Dian Belmont to track down three high-reward fugitives, using her sharp instincts and his careful planning. With Dian at the wheel and the Sandman on the case, the duo sets out to collect the bounty—each arrest a step toward their shared goal.
In "Chapter 7" of *All Star Comics Archives #2*, Hour Man—Rex Tyler—finds himself caught in a race against time and two ruthless gangs when word spreads of an Aztec treasure hidden within the Wonders Expedition. With Killer Blaine and The General both closing in, Hour Man must use all his strength and wits to protect the expedition and uncover the lost treasure, only to find the reward is far more than he expected.
In "1,000,000 for War Orphans! Chapter 8," Johnny stumbles into a mix-up with a gang led by a brash figure named Hotfist, only to find himself caught in a whirlwind of misadventures while trying to raise $300,000 for orphans. From peddling peanuts to selling umbrellas and ice cream, his efforts go awry—until a fake Atom and Sandman show up, forcing him to take on a job he never asked for. The Thunderbolt steps in to save the day, but Johnny walks away empty-handed, leaving the real cost of his mission unclear.
In a quiet moment at JSA HQ, Johnny faces the consequences of his secret return, unsure how his teammates will react to his missing share of the fund. When Green Lantern’s power ring exposes him, the heroes’ playful teasing turns into a heartfelt moment as Flash, Superman, and Batman arrive—unexpectedly awarded $100,000 each to help the cause, their arrival a surprise twist that redefines the mission’s impact.
In the quiet hum of JSA headquarters, the team gathers, each puzzled by a strange coincidence—witnesses in their separate cases suddenly losing their minds. Just as confusion sets in, Dr. Mid-Nite arrives with a tale that might just unravel the mystery, bringing new questions to a group already on edge.
In "Two New Members Win Their Spurs, Chapter 1," Dr. Mid-Nite races against time after learning a former city official has escaped—fearful of light and carrying a rare blood disease linked to apes. With help from Professor Able and a vial of the antidote, he restores the official’s sanity, only to be ambushed by two criminals working for the mysterious Dr. Elba. Just as Dr. Elba prepares to kill him, the unexpected arrival of Hooty changes everything.
In this brief interlude from All Star Comics Archives #2, Dr. Mid-Nite takes a quiet but crucial moment to equip the JSA with Solution K—his carefully crafted antidote—intending to restore clarity to witnesses driven mad by Dr. Elba’s sinister influence. With the path to Elba still shrouded in mystery, the team prepares to piece together what the afflicted might reveal.
In "Two New Members Win Their Spurs, Chapter 2," Dr. Fate steps in when a troubled friend, Bill Ford, reveals that the chaotic Goopy Gus Gluck orchestrated a bus fraud ring and has kidnapped Ford’s wife, Marge. Disguising himself as a bus driver, Fate turns the tables on the criminals, forcing Gluck to confess—then sets off to find the elusive Dr. Elba, whose role in the mystery remains unclear.
In "Two New Members Win Their Spurs, Chapter 3," Al Pratt—still working at the jewelry store—finds himself tangled in a web of deception when a suspicious salesman is arrested for theft, only to be followed by a shifty attorney demanding a settlement. When the man’s sudden madness hints at something far more sinister, Atom must piece together the clues, from a cryptic note to a hidden serum, as he races to uncover the true mastermind behind the scheme.
In "Two New Members Win Their Spurs, Chapter 4," Sandman uses Solution K to uncover a shady scheme at a convention, where two witnesses reveal they’ve been blackmailing attendees with stolen photos. As he follows the trail, Sandman exposes the full operation and delivers the perpetrators to the authorities.
In "Two New Members Win Their Spurs, Chapter 5," young Billy stumbles upon a hidden trunk of money in an abandoned house, only to be nearly struck by Ted Knight’s car—saved in the nick of time by Starman himself. With Doris by his side, Starman follows the boy back to the house, arriving just as a gang of criminals is about to make off with the stolen cache. After a tense confrontation and a daring intervention, Starman subdues one of the thugs, learns the gang was forging letters to sabotage a gubernatorial campaign, and sets off to track down Dr. Elba with the evidence in hand.
In "Two New Members Win Their Spurs, Chapter 6," Hawkman confronts a bizarre gang obsessed with collecting newspaper clippings to exploit the wealthy, leading to a tense showdown where Hawkgirl is felled by radio-controlled lightning. With quick thinking and the help of his loyal hawks, Hawkman pulls her to safety and dismantles the blackmailers’ operation.
In "Two New Members Win Their Spurs, Chapter 7," the Spectre, operating under his human guise of Jim Corrigan, tracks down a missing witness, Louis Scaloni, only to find him trapped and broken in the basement of Boss Williams’ gang hideout. With the weight of a shattered man’s truth pressing down, the Spectre delivers justice in a quiet, relentless act—injecting Scaloni with Solution K before confronting the entire gang.
In "Two New Members Win Their Spurs, Chapter 8," Johnny, armed only with a hypodermic and stubborn determination, ventures to a suspicious house to investigate a rumored madman—only to find himself trapped with the very man he was sent to apprehend. When the Thunderbolt arrives with the Solution K, the truth behind the chaos begins to unravel, revealing a scheme involving fake cement and a desperate informant. But as the crooks are finally taken into custody, a new threat emerges in the form of the enigmatic Dr. Elba.
In a tense finale to their mission, Jo and the Thunderbolt arrive just as Dr. Elba prepares to administer the insanity serum to Johnny. As the lights flicker out and Elba vanishes, Dr. Mid-Nite confronts a shadowed figure—only to discover the shocking truth: the man is both Professor Able and Elba, and in a twist of fate, Elba injects himself by mistake, falling to his demise.
In "Introducing Wonder Woman," Captain Steve Trevor crash-lands on Paradise Island, where he’s tended to by Queen Hippolyte’s daughter, Diana. When the Queen reveals the Amazon origin story and warns Diana not to leave the island—lest she lose her eternal life—she sets a contest to choose the Amazon who will return Trevor to the U.S. Diana, disguised among her sisters, wins the task and sets off on her journey home.
In "Hemisphere Defense, Introduction," the FBI Chief in Washington calls upon the JSA to address a growing threat across Central and South America, where saboteurs and spies are targeting the Southern Pacific railroad—a crucial supply line—and stirring unrest in allied nations. Each hero is assigned to a different country in the region, tasked with stopping sabotage and preventing chaos before it spreads.
In "Hemisphere Defense, Chapter 1," Hawkman travels to Mexico on a mission to thwart a Nazi plot to sabotage the Southern Pacific Railroad, only to find that the man posing as a Mexican Secret Police agent is actually a villain in disguise. With stealth and determination, Hawkman infiltrates the spy ring, uncovers incriminating evidence, and dismantles the operation before heading south to rendezvous with the rest of the JSA.
In "Hemisphere Defense, Chapter 2," the Ghostly Guardian tracks a mysterious aerial threat in Argentina, where Army planes have vanished and a strange "octopus of the air" machine is at the center of the chaos. With the Argentine Chief of Police and the spectral Jim Corrigan, he moves to secure a captured enemy leader—only to be ambushed by more operatives. The Spectre swiftly dismantles the threat, bringing the spies to justice.
In "Hemisphere Defense, Chapter 3," Al Pratt travels to Chile to help combat the growing influence of Nazi propaganda, but it's the Atom who takes the lead in uncovering the hidden printing press fueling the spread. The story unfolds with sharp focus on espionage and resistance, grounded in the quiet determination of heroes operating in the shadows.
In "Hemisphere Defense, Chapter 4," the Sandman races to stop a Nazi sabotage operation targeting oil wells in Venezuela, where American and British interests are at stake. After being drugged and felled by the enemy, he awakens to confront the threat head-on, determined to protect the wells before they’re destroyed.
In "Hemisphere Defense, Chapter 5," Johnny is sent to Cuba on a mission to track down the elusive spy Bradley Zenea, only to be captured by a gang led by a cunning operative named Miguel. Trapped and facing a shark-filled fate, Johnny accidentally triggers the Thunderbolt’s power by uttering "Say You" in Spanish—just in time to turn the tide against his captors.
Dr. Fate arrives in the Republic of Brazil, drawn by reports of a Nazi-engineered floating fortress gunship—part mobile stronghold, part weapon of global conquest. As the skies darken with the threat of a new Siegfried Line in the air, he must uncover the device’s secrets before it unleashes its power.
In "Hemisphere Defense, Chapter 7," Starman travels to Bolivia and teams up with a local agent from the nation's secret police, uncovering a shadowy Nazi operation using the country's tin mines as a hidden network—though how the enemy moves through them undetected remains a mystery.
In "Hemisphere Defense, Chapter 8," the Man of Night and his companion Hooty journey to Colombia to uncover a sinister pattern of mass hypnotism—where entire communities fall under eerie, robotic control, all tied to a shadowy Nazi operation. With tension rising and the line between mind and machine blurring, the duo must piece together the truth before the next wave of influence strikes.
In "Hemisphere Defense, Conclusion," the JSA reunites with their girlfriends after a mission, only to find Johnny missing and Daisy anxious. Just as Johnny bursts in, fleeing a mistaken wedding pursuit, he and Daisy share a quiet moment under the moon—where a whispered wish for solitude on the lunar surface suddenly becomes real, thanks to the Thunderbolt’s power.
In "The Case of the Bomb Defense Formula! [Introduction]" from All Star Comics Archives #2, Hawkman, Dr. Mid-Nite, and Sandman team up with Professor Everson to confront a looming threat to national security. When Everson reveals his time ray and suggests a trip to the future to retrieve a crucial defense formula, the heroes agree to venture forward—while Flash and Green Lantern stand guard.
In "The Case of the Bomb Defense Formula! Chapter 1," Hawkman arrives in the year 2442 to find himself mistaken for a criminal by a future police force, his identity lost to time. With the help of his Nth metal, he escapes custody and races to the National Televisabrary, where an automated system reveals the scattered pieces of a vital formula—each hidden across different eras. As he secures the first fragment, he prepares to guide future travelers to the rest, unaware of what dangers await in the timeline he’s trying to protect.
In "The Case of the Bomb Defense Formula! Interlude," Hawkman leads the Justice Society into the future of 2442, tasking each member with retrieving pieces of a crucial formula while equipping them with special flying belts to navigate the distant era.
In "The Case of the Bomb Defense Formula! Chapter 2," Sandman slips into a glass-domed city under cover of a workman’s disguise, navigating its hidden depths with a wirepoon to reach the Chamber of the Manuscripts. When a fellow worker spots him and raises the alarm, Sandman must race to copy the formula before an army of flying workmen closes in.
In "The Case of the Bomb Defense Formula! Chapter 5," Dr. Fate ventures into the sunken city of Oceania, where he’s met by a pair who shelter the Man of Might. With the help of underwater newsreels revealing the formula’s location, Fate dons a specialized suit and races to retrieve the crucial piece before those who seek it can stop him.
In "The Case of the Bomb Defense Formula! Chapter 6," Dr. Mid-Nite and Hooty journey to the City of Knowledge, seeking the final piece of a crucial formula hidden in the Shrine of Science. When the city’s scientists doubt his identity, he proves it with a rare surgical feat known only to the legendary hero, earning their trust—and the formula’s location—only to discover that dangerous rivals are also closing in.
In "The Case of the Bomb Defense Formula! Chapter 7," Corrigan lands on the floating island of Ultima, where he’s forced to confront a crew of criminals aboard a rocket ship bound for the planet. Reverting to his spectral form as the Spectre, he races ahead to intercept them, while posing as Corrigan to meet the High Savant—only to uncover a trap when the real Savant watches in silence as the impostor is shot down.
In "The Case of the Bomb Defense Formula! Chapter 8," Johnny crashes into a skybound city in the American Northwest, drawing the attention of its residents who recognize him on sight. With the shocking news that his portion of the formula has been stolen by a mysterious Black Butch, he teams up with the Thunderbolt to track down the thief—before the city’s defense system fails.
In "The Case of the Bomb Defense Formula! Conclusion," the Justice Society of America returns to the secret lab at the precise moment they vanished, handing over their fragments of the crucial formula to scientists who swiftly assemble the device. With the test a success, the team prepares to transport both the Professor and the prototype to Washington D.C.—but the real challenge lies ahead.
ComicBooks.com Value
Find on ebay
Where to buy
Read it digitally
Sell my copy
Have this issue — or a whole collection? Get a fair offer from us, skip the marketplace fees and the hassle.
We Buy Collections ▸Full credits
Reprints
↩ Reprints All-Star Comics #7 (1941), All-Star Comics #8 (1941), All-Star Comics #9 (1942), All-Star Comics #10 (1942)
Reviews
Reader reviews
No reader reviews yet.