
Pulp Fiction, 1938 · page 86 of 100
Air Stories — page 86: what you’re looking at
A restored page from Pulp Fiction, 1938. Page through the whole issue in the reader above.
📄 Transcribed text from this page (OCR, searchable)
Machine-transcribed from the original scan — historical spelling and the odd misread are preserved.
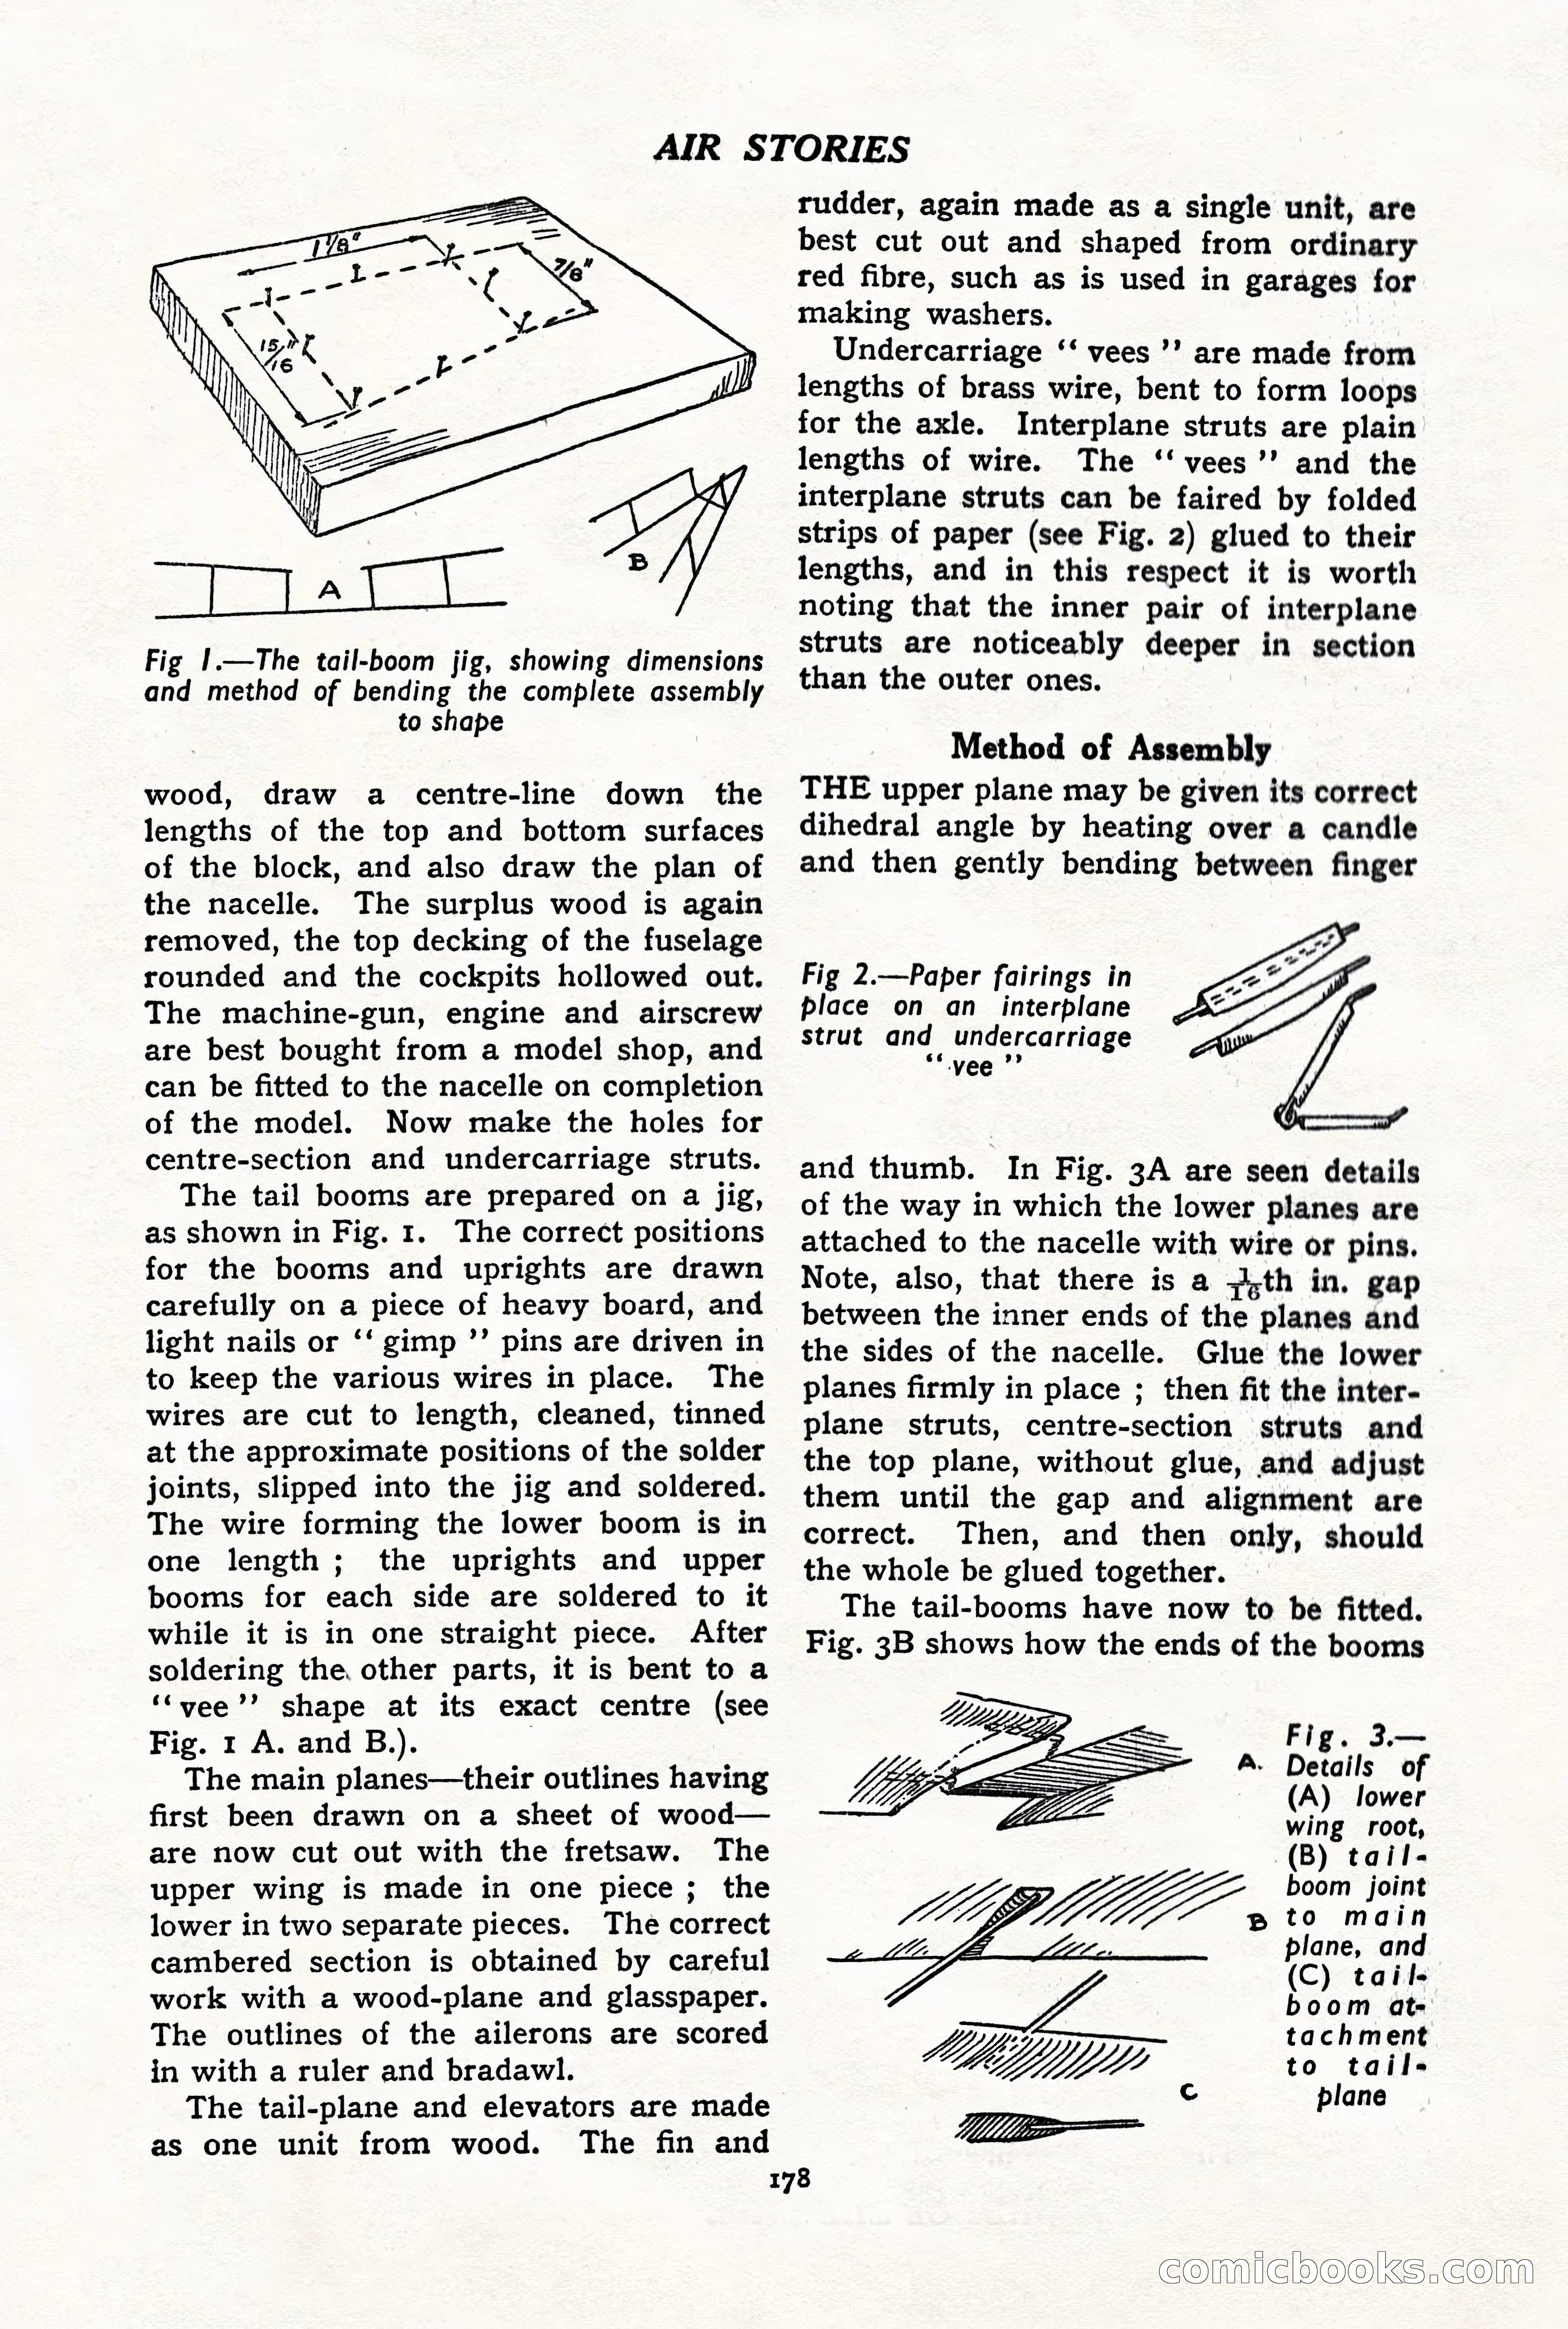
AIR STORIES Fig |.—The tail-boom jig, showing dimensions and method of bending the complete assembly to shape wood, draw a centre-line down the lengths of the top and bottom surfaces of the block, and also draw the plan of the nacelle. The surplus wood is again removed, the top decking of the fuselage rounded and the cockpits hollowed out. The machine-gun, engine and airscrew are best bought from a model shop, and can be fitted to the nacelle on completion of the model. Now make the holes for centre-section and undercarriage struts. The tail booms are prepared on a jig, as shown in Fig. 1. The correct positions for the booms and uprights are drawn carefully on a piece of heavy board, and light nails or ‘‘ gimp ’’ pins are driven in to keep the various wires in place. The wires are cut to length, cleaned, tinned at the approximate positions of the solder joints, slipped into the jig and soldered. The wire forming the lower boom is in one length; the uprights and upper booms for each side are soldered to it while it is in one straight piece. After soldering the. other parts, it is bent to a ‘“yvee’’ shape at its exact centre (see Fig. 1 A. and B.). 3 The main planes—their outlines having first been drawn on a sheet of wood— are now cut out with the fretsaw. The upper wing is made in one piece; the lower in two separate pieces. The correct cambered section is obtained by careful work with a wood-plane and glasspaper. The outlines of the ailerons are scored in with a ruler and bradawl. The tail-plane and elevators are made as one unit from wood. The fin and rudder, again made as a single unit, are best cut out and shaped from ordinary red fibre, such as is used in garages for making washers. Undercarriage ‘‘ vees ’’ are made from lengths of brass wire, bent to form loops for the axle. Interplane struts are plain lengths of wire. The ‘‘ vees’’ and the interplane struts can be faired by folded strips of paper (see Fig. 2) glued to their lengths, and in this respect it is worth noting that the inner pair of interplane struts are noticeably deeper in section than the outer ones. Method of Assembly THE upper plane may be given its correct dihedral angle by heating over a candle and then gently bending between finger and thumb. In Fig. 3A are seen details of the way in which the lower planes are attached to the nacelle with wire or pins. Note, also, that there is a th in. gap between the inner ends of the planes and the sides of the nacelle. Glue the lower planes firmly in place ; then fit the inter- plane struts, centre-section struts and the top plane, without glue, and adjust them until the gap and alignment are correct. Then, and then only, should the whole be glued together. The tail-booms have now to be fitted. Fig. 3B shows how the ends of the booms Fig 2.—Paper fairings in place on an _ interplane Strut and undercarriage ** vee o> Fig. 3.— - Details of (A) lower wing root, (B) tail- boom joint to main plane, and (C) tail- boom at- tachment to tail- plane 178 Ghook (©