
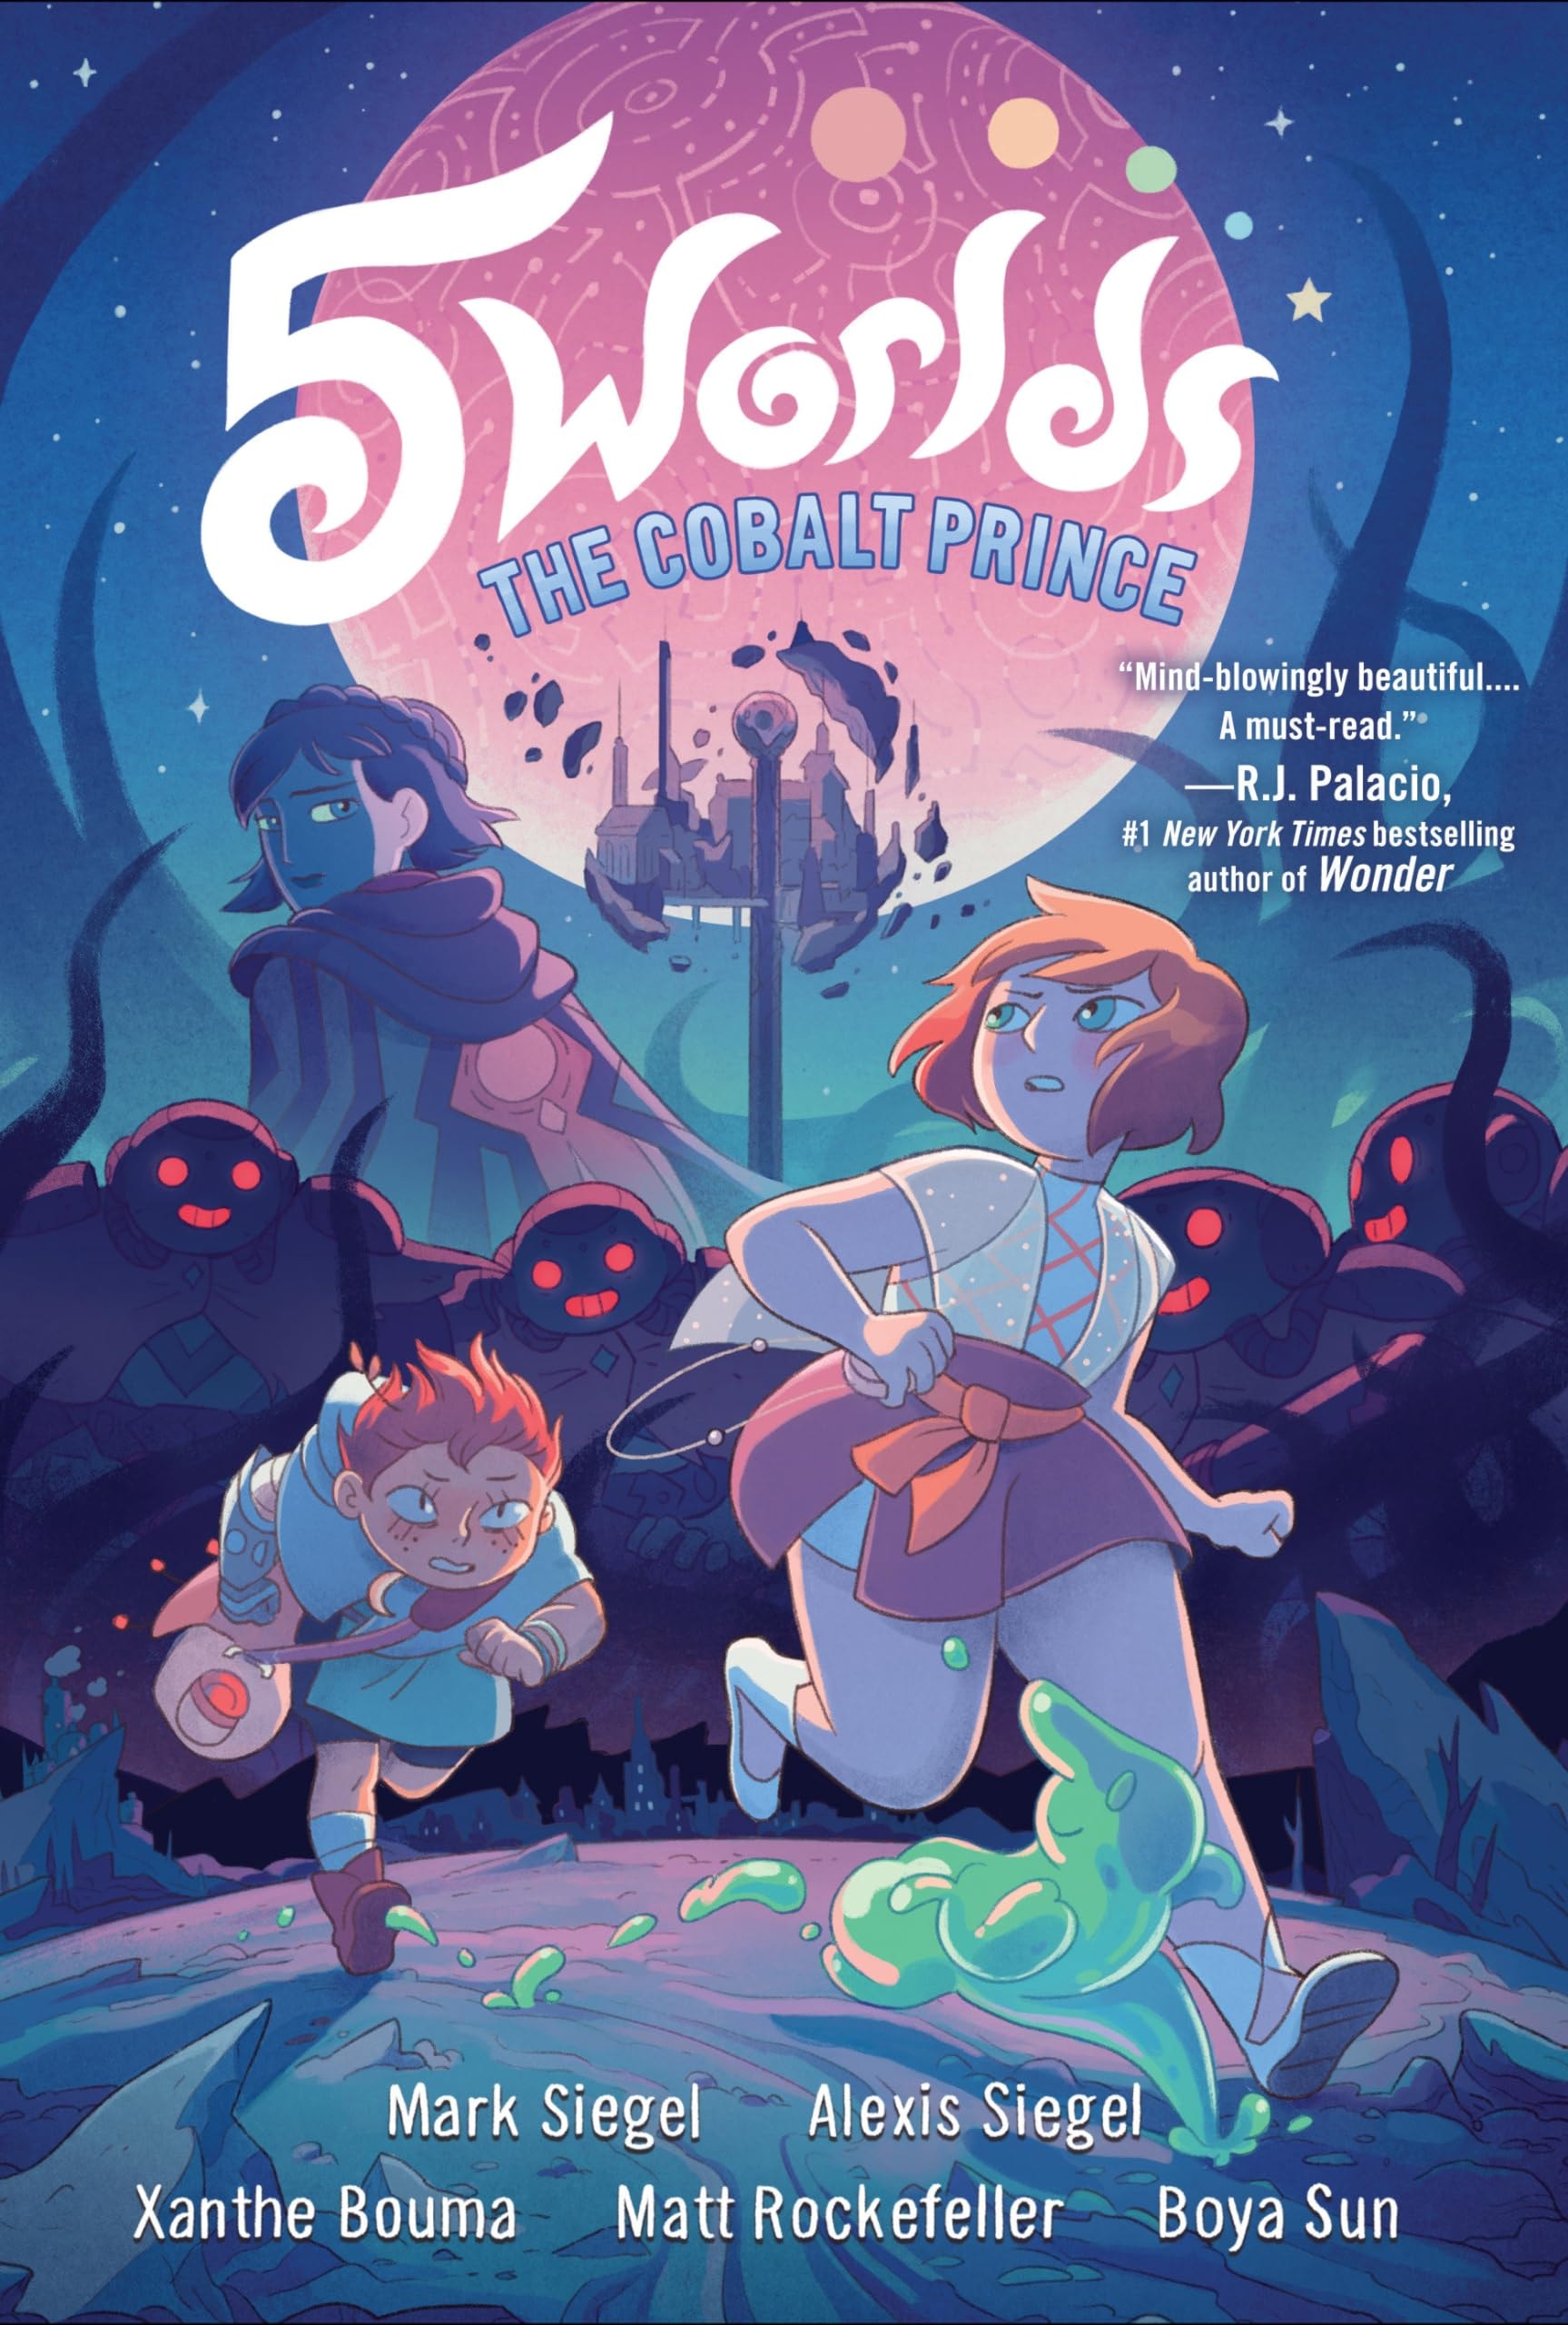
5 Worlds #2
☆ Be the first to review + Add to your collection — Join freeThis second volume of the 5 Worlds series continues the epic sci-fi adventure as the young heroes—Oona, An Tzu, and Jax Amboy—journey to the blue-hued world of Cobalt to light its beacon and save the galaxy. Written by Mark Siegel and Alexis Siegel with vibrant artwork by Xanthe Bouma, Matt Rockefeller, and Boya Sun, the story deepens the quest while introducing new allies and dangers in a richly imagined universe.
In a quiet moment of memory, Oona and Jessa train in the ancient art of sand dancing, their movements weaving light across the dunes. When Elon arrives, he whispers of a greater purpose—urging Jessa to leave her world’s traditions behind and hone her gift in battle against the ever-present Mimic.
In "Chapter 1: The Cobalt Key," Jessa, still reeling from her victory on Mon Domini, is suspended by the Council on grounds of combat fatigue. Seeking answers, she turns to the disgraced Master Elon, who warns her that the Mimic has taken control of the Cobalt Prince. To uncover the truth, Elon teaches her a mysterious dance—one that can reveal hidden truths when paired with the Living Fire. To find that fire, she must locate her long-lost sister, Oona.
In "Chapter 2 Salassandra" from 5 Worlds #2, Oona and Jax race against time to stop An Tzu’s mysterious vanishing sickness, only to be exposed when the three spaceship captains see through their disguises. With their cover blown, the trio flees the ship, hurtling uncontrollably toward the surface of the nearest planet.
In "Chapter 3: The Sacred Oil" from 5 Worlds #2, An Tzu and Oona find themselves stranded in the middle of a temple ceremony after a crash that sets free the sacred oil—now revealed to be alive. With tensions rising and a mob closing in, O'Zirg intervenes, surrendering them to the spaceship captains, only to reveal they’re not enemies, but allies in a larger fight against the Mimic.
In "Chapter 4 Shadows of Atbal-Balak," the trio’s journey takes a tense turn as they’re delivered to Magda, who declares that the long-foretold conflict has begun and rallies her order. While Ram Sam Sam shares a deeper form of sand dancing with Oona, An Tzu’s condition worsens, leaving the group on edge as the shadows of Atbal-Balak close in.
In "Chapter 6 The Prince's Offer" from 5 Worlds #2, Oona confronts a startling truth: she and her sister were never who they believed, and the Prince’s plea to light the beacons may be the key to ending the system’s suffering—or destroying it. As the weight of the past and the fate of the five worlds hang in the balance, he offers her a choice that could reshape everything.
In "Chapter 7 The Secret of the Blue Beacon," the estranged sisters Oona and An Tzu reunite through a shared ritual, their movements guided by the cryptic teachings of Master Elon. As they dance, they uncover a hidden truth: the beacons are meant to be lit, and the Prince—whom they thought a savior—is actually a vessel for the malevolent Mimic. Oona’s sudden pledge to join him sends shockwaves through An Tzu, who remains unaware of the ruse.
In "Chapter 8" from 5 Worlds #2, Thorn finds the gravely ill An Tzu and brings him to the Blue Healer, where a vision reveals the true enemy: the Mimic, not the warring factions. With this revelation, Thorn commits to standing with Oona in her fight.
In "Chapter 9 The Queen's Bones," the Mimic, wielding the Prince as his instrument, launches a desperate bid to seize ultimate power in a climactic confrontation. When his plan collapses, he turns to Jessa—only to be undone, leaving her lifeless in his wake.
In the quiet aftermath of cosmic upheaval, Dean Plumb turns his focus to healing and rebuilding at his academy, tending to the scars left by the Mimic’s intrusion. Meanwhile, Vector, Elon, Thorn, and Ronak lead the effort to restore the shattered world of Toki, while Oona, Jax, Ram Sam Sam, and An Tzu set out on a vital journey to Moon Yatta—where the next beacon must be lit, in sequence and in silence.
Find on ebay
Where to buy
Read it digitally
Sell my copy
Have this issue — or a whole collection? Get a fair offer from us, skip the marketplace fees and the hassle.
We Buy Collections ▸Full credits
Reviews
Reader reviews
No reader reviews yet.